![[How To] Train Deep Learning Models on Docker/NVIDIA-Docker](https://shreyanssjain.com/wp-content/uploads/2019/04/how-to-train-deep-learning-model-on-docker-1.png?w=820)
This post focuses on providing a short and simple tutorial of how to train your deep learning model on Dockers. For this tutorial we will be using NVIDIA DGX1 which has Ubuntu 18.04 OS. The tutorial can also be followed on previous versions of Ubuntu and on any NVIDIA enabled laptops or computers. This tutorial is for beginners, so if you have any advance query please leave a comment or contact me.
To know more and how to install Dockers and NVIDIA-Docker please read my other article which can be found here.
Before we move any further, I would like to make you understand my setup. That should give you probably good idea about my scenario of how I am using the commands. I am pursuing my Masters from Bennett University. We have a Supercomputer installed (NVIDIA DGX1). I have been managing it for quite while now. It can be accessed through SSH client, we just need to enter IP address and port number to access it. I generally use Putty for connecting to DGX1. And before accessing the Docker/NVIDIA-Docker I use tmux for creating sessions.
Creating New Session and Accessing it.
For creation of new session use the following command.
tmux new -s session_nameReplace the session_name with the name you want to give. When you type this, it will automatically take you to newly created session.
To exit the session just type exit while you are in session. And if you want to just come out of session without exiting the session you can press ctrl+b and then press d.
To re-enter your session, you can type the following command
tmux a -t session_nameTo list all the available sessions, you can use tmux ls command.
Advantages of Using Tmux Sessions
Sessions which are created helps in retaining the record, it helps in keeping the session alive even after the computer is switched off. When the session is loaded again, all the works starts from where it was left. So here it will help us in keeping the container alive, so that we can use it for other programs as well. Use the Tmux Cheatsheet link for more details on usage of Tmux command to manage the sessions.
Pulling a Docker/NVIDIA-Docker Container for Deep Learning Models
Now once you are in tmux session, you can start a docker which can be used for training deep learning model. I generally prefer using NVIDIA-Docker for Deep Learning Models. As we already know that Docker commands are used to pull already created containers. There are few containers which contain TensorFlow, Caffe, PyTorch and whichever deep learning libraries are available. For this tutorial I will be using TensorFlow Container. Check the list of links given bellow for other containers:
- TensorFlow
- Caffe Link1 Link2
- PyTorch
First step is to pull the container from the source. To pull a container you can use the following command. The command is also used for accessing the docker container for later usages.
NV_GPU='0' nvidia-docker run --name name_of_container --rm -it -v /home/dgxuser104/:/home/dgxuser104/ tensorflow/tensorflow:latest-gpu-py3In the above command there are many options and flags which are absolutely confusing. So I will explain every thing one by one.
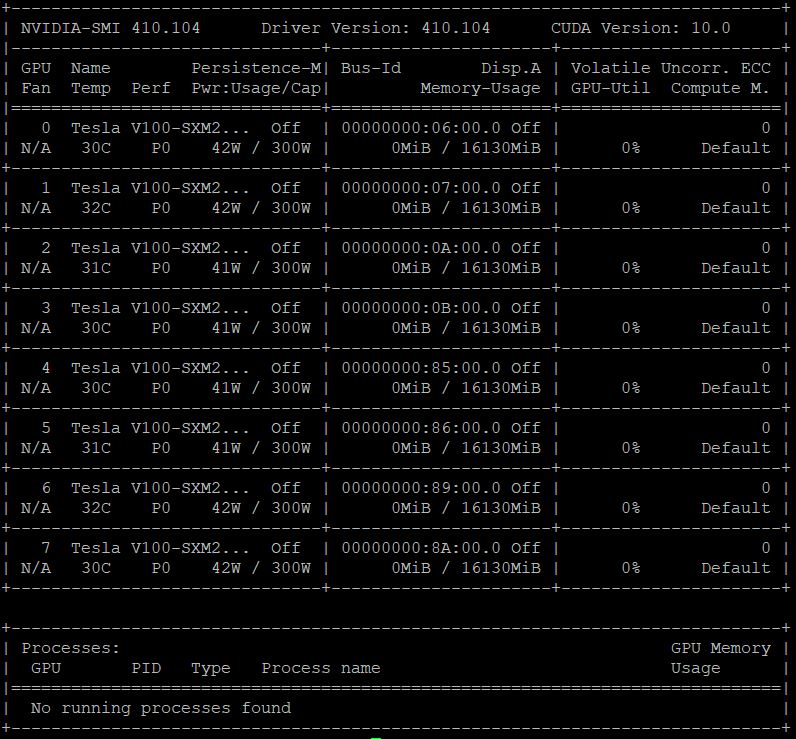
- NV_GPU is used to assign specific GPU to the docker. In my case we have 8 GPU which we can use, out of which I am using GPU_ID: 0 .
- nvidia-docker is the main command to pull the container.
- For –name option, you have to provide whatever name you prefer for the command, just replace name_of_container with the name you want to give.
- When you exit docker, it still remains in the system, so you need to ensure that once your task is over them memory which is assigned to docker should be freed. To do so we use –rm option.
- The next option is -it flag. When we want to train our own model we require a interactive command line environment. So, if we do not use it, we will not be able to create our files and train our model. So just use this.
- The -v flag is used to mount some drive to the container, so that whatever files you want to create or use, you can pick it using this flag. In the command /home/dgxuser104/:/home/dgxuser104/ this part helps in accessing the files by the container in the specified location.
- tensorflow/tensorflow:latest-gpu-py3 is the container that we are accessing. Here after the tensorflow/tensorflow means that we are downloading the TensorFlow container from TensorFlow repository, and after
:is the specification of the container we want. So, here our container is a latest version of TensorFlow (that is TensorFlow v1.13.1) which is pre-configured to use GPU and have only Python3 support. To use different containers change the name of container.
When we run the command for the first time, the container is downloaded from it’s source repository. And once it is downloaded, you will get a interactive interface. Now, obviously here interactive means that you will be able to create or delete any file and use the ability of container for your advantage. Make a note that once you are in the container, you have limited root access, every file that is created is owned by root.
Training Your Deep Learning Model
To train our Deep Learning Model, we will require to write a code in Python3, as we have downloaded the container with py3. We can create our model using either Keras or TensorFlow. Note that if you have provided multiple GPU’s to Container (in NV_GPU) then the model should be Multi-GPU Model, so that it can exploit the complete capability of the GPU’s (This is optional if you have only one GPU). Follow the following steps to start training your model:
- Start a Tmux Session. (See “Creating New Session and Accessing it” Section for help.)
- Once you are into a session, you need to pull the container. (See “Pulling a Docker/NVIDIA-Docker Container for Deep Learning Models” section for more details.)
- Install the packages which are required for the model. Some of the packages are generally preinstalled, but some of them need to be installed. Download the install.sh file (Scroll to the end of the article to find the download link). To run the .sh file you will need to follow the following steps
- First change the permissions of the file by
chmod 777 install.sh - Edit the file according to your usage.
- Save the file and run by
./install.sh
- First change the permissions of the file by
- Once you have all the supporting packages you need to create all the python files for training your model. And just run as
python filename_of_model.py - Once you train all the models, you will see the saved model files. Now, we know that in container every file that is created is owned by root, so once you exit the container the files will not be accessible to you. So before you exit the container give permission to all the files created. To give the permission to file use this command –
chmod 777 file1 file2 file3 ...This step is mandatory for those who do not have root permissions for their systems. - Now you have all the trained files which can be used further for your application.
Download the Install.sh file by clicking on the download button.
I hope the article helps in understanding the Dockers and Containers in more detail. If you have any query related to the article, you can make a comment with your issue or you can contact me through the contact me page.
Thank You for reading the article. If you feel the article helps you in any way, please Like, share and comment on the article. Your feedback is appreciated.